
Hello everyone!
Coralynn here with a Christmas card to jumpstart or inspire your holiday card making. I am in full holiday mode, making cards like a mad woman. Every year I tell myself that I will make more holiday cards and every year it seems to sneak up on me and I don't get done what I've wanted. So I have at least 16 done and counting.
Now on to my card.
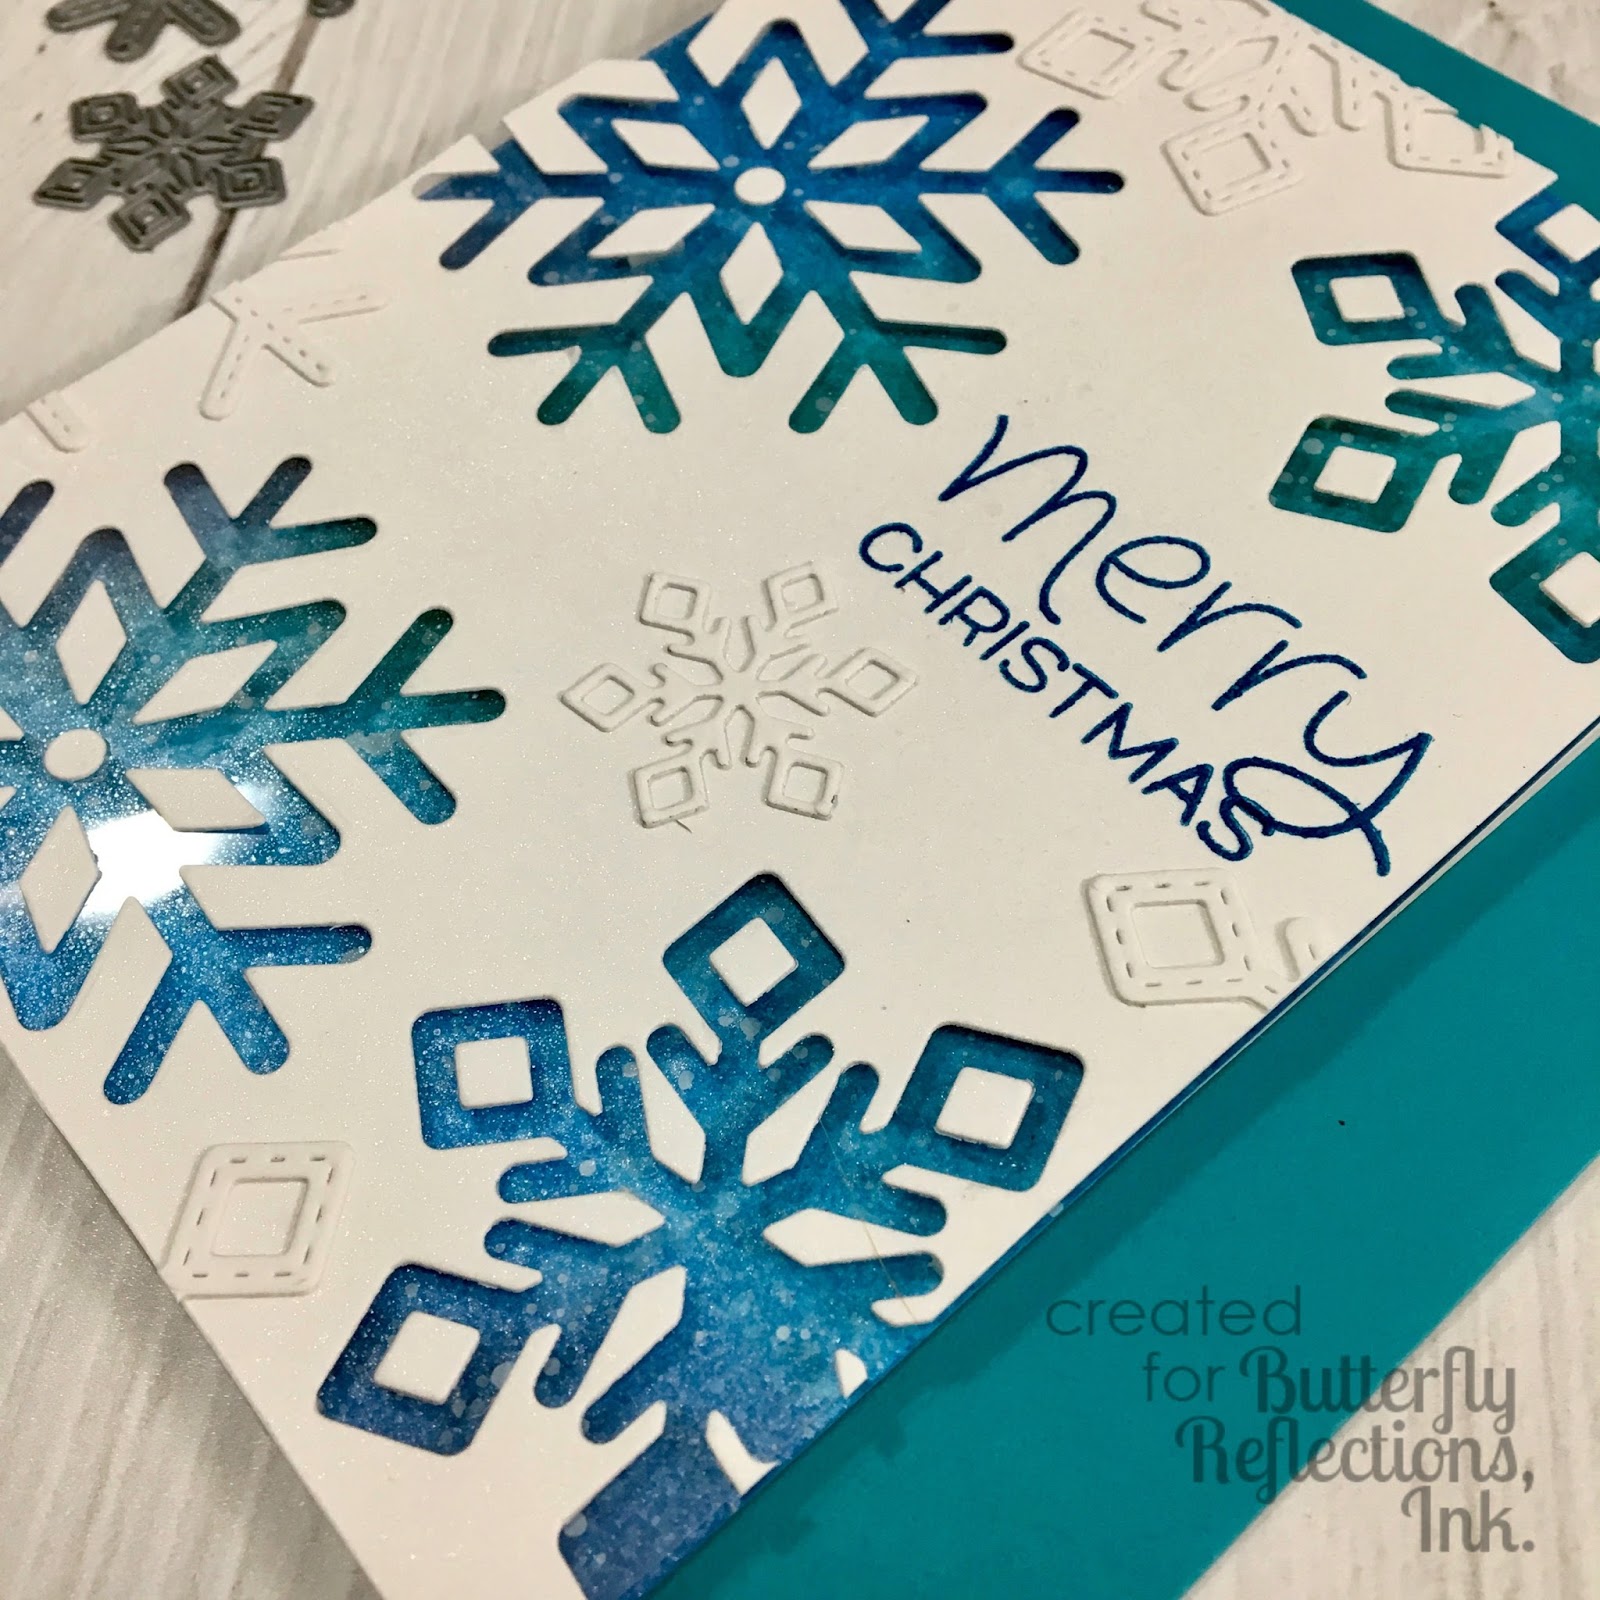
I took a white cardstock panel and cut out the snowflakes. I then glued a piece of acetate to the back and added all the little inside pieces to the snowflakes. I took the positive die cuts and added them to the panel to give it some interest.

With a piece of watercolour paper, I blended different blue distress oxide inks and added some water splatters and adhered it to an A2 sized card base. I added foam tape to the back and added that to the ink blended panel.

I stamped the sentiment with blue ink to match the blue background and sprayed the entire front with a perfect pearls water mix to give it lots of shimmer. You can't really see it in these pictures but it is really pretty!

Thanks so much for stopping by!
Coralynn :)
Coralynn here with a Christmas card to jumpstart or inspire your holiday card making. I am in full holiday mode, making cards like a mad woman. Every year I tell myself that I will make more holiday cards and every year it seems to sneak up on me and I don't get done what I've wanted. So I have at least 16 done and counting.
Now on to my card.
I took a white cardstock panel and cut out the snowflakes. I then glued a piece of acetate to the back and added all the little inside pieces to the snowflakes. I took the positive die cuts and added them to the panel to give it some interest.

With a piece of watercolour paper, I blended different blue distress oxide inks and added some water splatters and adhered it to an A2 sized card base. I added foam tape to the back and added that to the ink blended panel.

I stamped the sentiment with blue ink to match the blue background and sprayed the entire front with a perfect pearls water mix to give it lots of shimmer. You can't really see it in these pictures but it is really pretty!
Supplies:
Lawn Fawn Happy, happy, happy add on stamp
Thanks so much for stopping by!
Coralynn :)
Comments
Post a Comment